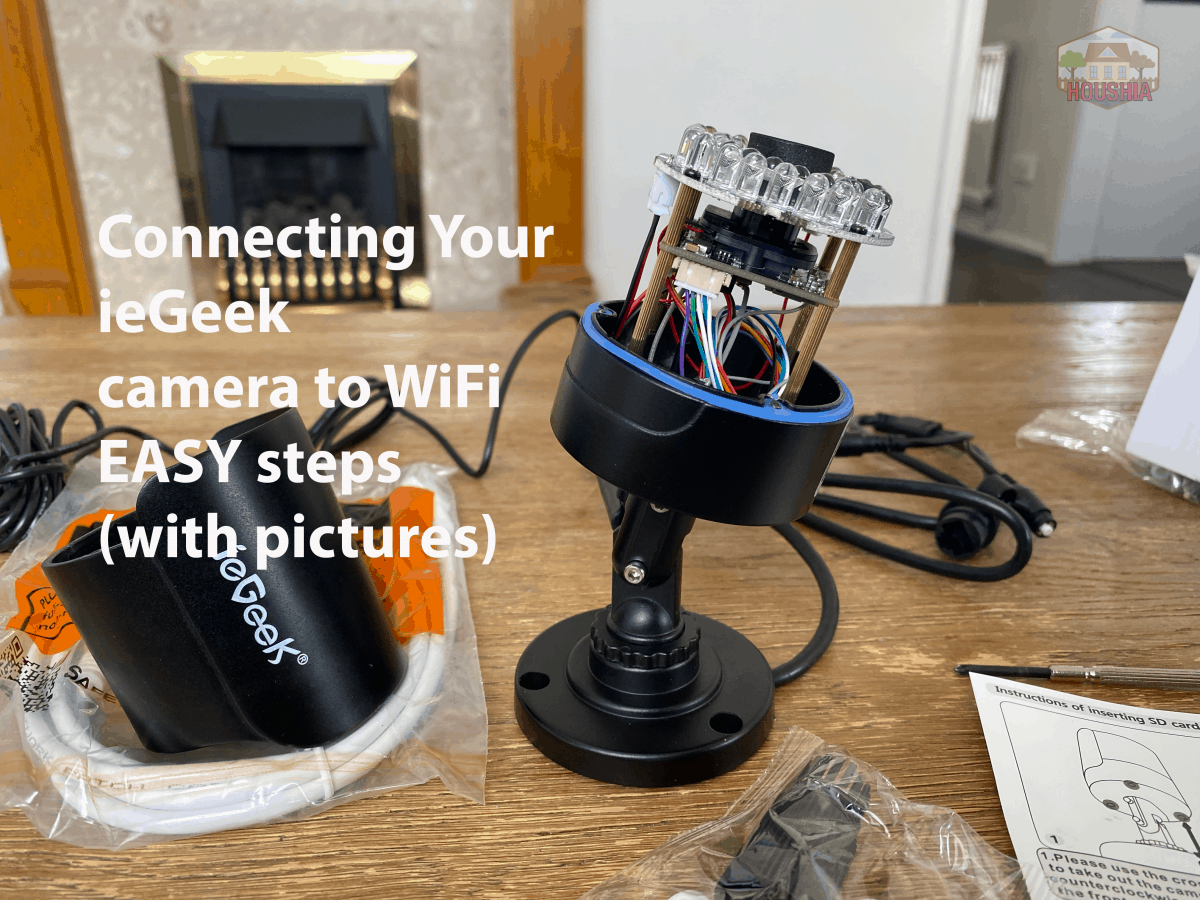
Connecting your ieGeek camera to your Wi-Fi network might sound like an easy proposition. I certainly thought so when I embarked on this little quest. But I was soon to discover there is more involved in switching from a wired connection to Wi-Fi.
Long story short. I’ve managed to get my ieGeek camera to switch from a wired ethernet connection to a Wi-Fi connection. But it wasn’t easy or straightforward and I wanted to write this article so that you don’t run into the same problems I did.
How do you switch your ie gate camera to Wi-Fi? The simple approach is to initially set up your camera using the ethernet wired connection. Then via the hicam app select Wi-Fi and click switch. At which point the camera will disconnect from the wired ethernet and then reset. Now your camera is running on a wireless connection.
That’s the super brief explanation of the process involved in setting up your camera on Wi-Fi. But there’s a lot more involved and if you keep reading, I’ll talk you through the steps and include pictures and diagrams of exactly what you need to do and make the process very smooth and easy.
I’ll also talk about some of the merits of both wired and wireless connections. As well as why you might want to consider switching from a wired to WiFi connection.
Let’s go….
Steps to setup to Wi-Fi on ie Geek cameras
The first thing I think it’s important for you to know is that you can’t directly set your camera to Wi-Fi. I can’t emphasise this point enough because it really caught me out when I was setting up my ie geek security camera.
In order to set your camera up on Wi-Fi mode, you have to take a specific series of steps in order to get it to. Let the camera make the switch from wired to wireless.
First things first. Let’s add a memory card to your new security camera. If you’ve already done this. And you have a camera that’s been set up as wired and you can skip this step, but for the rest of us, let’s go through it.
Adding an SD Card.
Out of the box, ie Geek cameras don’t come with internal memory, you’ll have to add it yourself. While in the instructions for a camera, it states that not all memory cards are compatible. I found that a sandisk micro SD card with 64 gigabytes of memory worked just fine.
ieGeek recommends that you use a surveillance grade micro SD card for their cameras. There are few differences between these types of micro SD cards and regular ones.
The main one being that they are designed for long term use and more read/writes than your typical SD card. The good news is that they don’t tend to cost that much more than regular micro SD cards. In fact, I found the price is pretty similar on Amazon.

Right now we know what type of micro SD card to use, let’s install it!
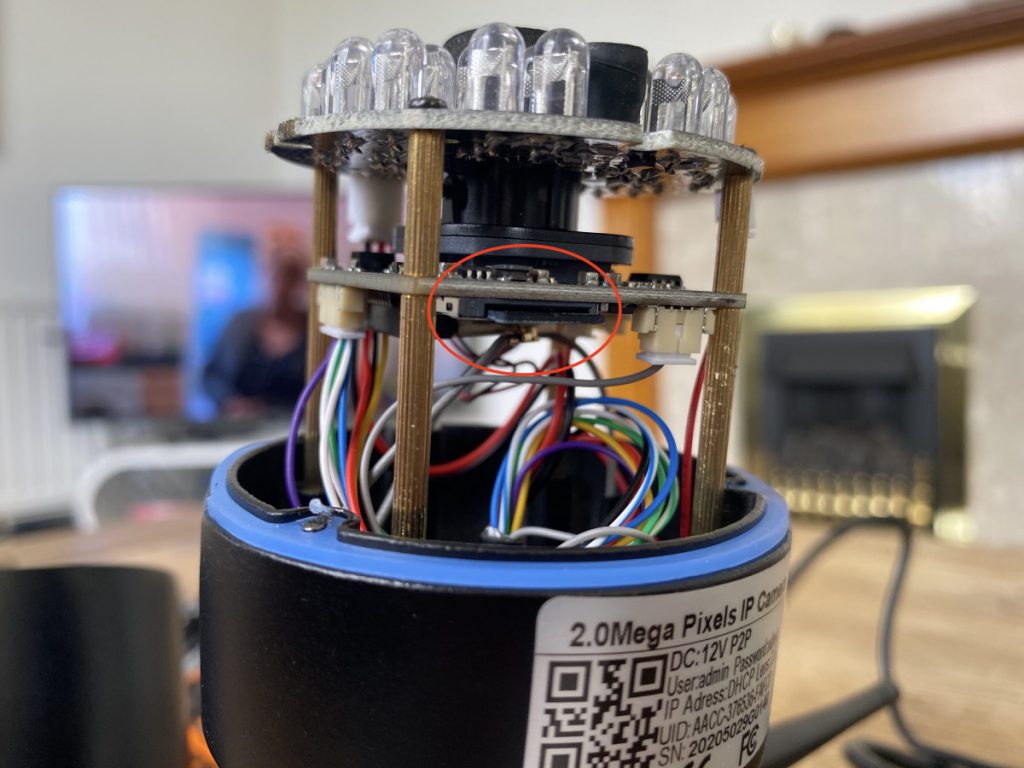
In order to access the port where you can insert your micro SD card we need to dismantle the security camera. This isn’t as scary as it sounds, since we just need to unscrew 3 Phillips head screws in the chassis of the security camera. Here’s a photo of the screwdriver I used.
I found that when you unscrew the screws, they tend to stay in place and do not fall out of the chassis itself. So don’t get confused if you keep twisting and find that the screws haven’t detached from the case. They just tend to hang in there, which is great because you don’t need to worry about losing them.
After gently detaching the base of these curious Campbell from the chassis, you exposed the inner electronics. After examining these, you can see a small port where your micro SD card will fit. Gently insert the micro SD card until it clicks. After doing so. You have now successfully installed the memory for your security camera.
I recommend leaving the housing off during the sale process as you might find that you may need to tweak something later on. For instance, if the memory card isn’t working properly, you might need to swap it out for another one.
Okay, that’s it for adding an SD card to your ie geek security camera.
Now let’s set up the wired connection before we swap it over to wireless.
Pairing your security camera with the hicam app
The next step comes in the form of pairing your camera with the hicam app.
I found the best way to do this would be to simply plug in the Ethernet cable from your router into the port on the power cable for the security camera.
After clicking add camera you might be thinking is to click the search camera from lan option. But I was disappointed to find that even though the camera was plugged into the router physically by the Ethernet cable, it did not detect it.
Instead, I found the best way was to click scan QR code. The app might ask you to allow permission for the high Cam app to take photographs, if you authorise this, then scan your QR code on the side of your camera using your phone.
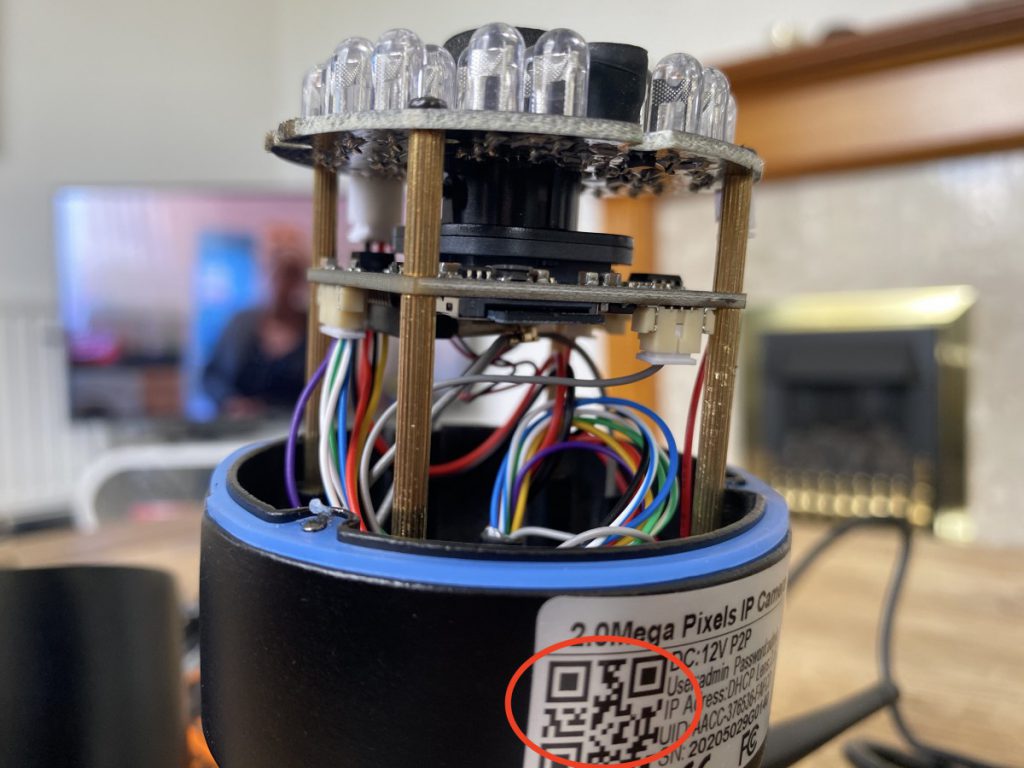
After which the camera will automatically be added to the app’s camera list.
I found that clicking the wireless installation option had no results and just failed to detect any cameras, so I don’t know why that option is there or how to get it to work.
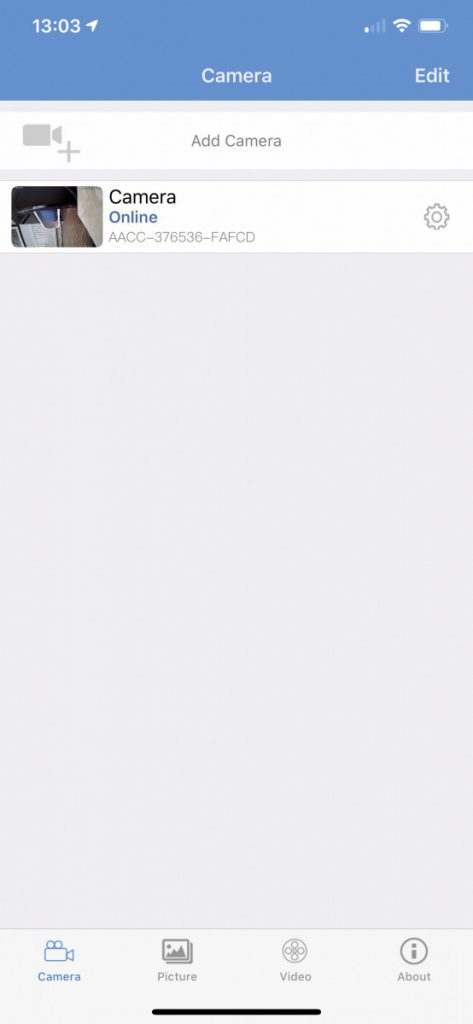
The next step will see you go onto the list of cameras that the hicam is aware of and you will see your camera at the top of the list with the status of connecting. Please be patient and after 10 to 20 seconds you’ll find that the camera is now connected.
Congratulations, you have now paired your camera via the hard wired connection to the high camera. You should be able at this point to see footage from the camera simply by tapping on it.
Switching your ie Geek camera to WiFi
Okay, we’re more than halfway there. The next steps are pretty simple. And by the end of it, your camera will be set up using Wi-Fi.
The next steps are pretty obvious one, but an important one not to miss. That is, to make sure you have so firmly screwed in the wireless antenna into your security camera. This isn’t required for the wired connection . But the camera will not work without it. In the wireless mode.
After doing so, we now need to tell the hi Cam app to switch from wired to wireless. Find the camera on the list of cameras that the high come up knows about and then select the cog that represents the settings for this particular camera.
You’ll see a list of options on there, one of which will be called wireless. Click this. On the new page you will be asked to provide the password for your wireless router. Enter your password into this box. Then click switch to Wi-Fi, the bottom directly below. At this point, the app will attempt to connect your camera to the wireless network in your home.
It will also reset the camera, so allow for a minute or two for this process to take place. After it’s done, you should be able to disconnect the wired connection and you will continue to transmit over the Wi-Fi connection .
Tip: I encourage you to select the 2G variants of your Wi-Fi. Since modern routers cover both the two gigahertz spectrum and the five GHz spectrum. 2 Giga Hertz is much better suited for longer range transmission or transmission that will go through walls, so in this case, if you’re mounting your camera outside, you want the best possible signal and 2G is the way to go. Also, I don’t think I egeek supports 5G. Something to remember.
Also, you might be asking yourself if it’s safe to put your Wi-Fi password into the high Cam app? This is a fantastic question and I cover this in depth in my article on are ieGeek cameras safe? I definitely recommend you read the article. It will shed some light on the company that makes this brand of camera and if you are leaving yourself vulnerable to hackers.
If you’re interesting in reading more about ieGeek cameras then checkout our articles on:
ieGeek Cameras TERRIBLE Security – A Detailed Investigation
Conclusion
Okay, that’s it. You’ve successfully switched your camera from a wired connection to a wireless connection. If you follow the steps in this guide correctly, then you can safely remove the wired connection and enjoy your security camera footage without the need of pesky wires from your router all the way to your security camera.
Making the installation process for adding new cameras and existing cameras just a little bit easier. That being said, by transferring data over Wi-Fi, there may be additional security concerns that you need to be aware of such as people intercepting the traffic.
As the camera communicates with your router. I’ll investigate this question and more in my article on the safety of ieGeek cameras and whether you should trust them or not. Highly recommend you read that article.
If you find this article useful then please share it out on social media and with others as it helps support the website and keep us motivated to keep writing guides on cameras, smart lights and other devices that make your home. Just that little bit more enjoyable to live in.
P.S.
That’s it for this article. I hope you enjoyed reading it and if you think it might be useful for someone else then please share it on social media, email or your own website! It really encourages us to write more content and grow the site!
If you’re interested in reading more about smart light, smart garages and smart homes checkout some of the other houshia categories including: