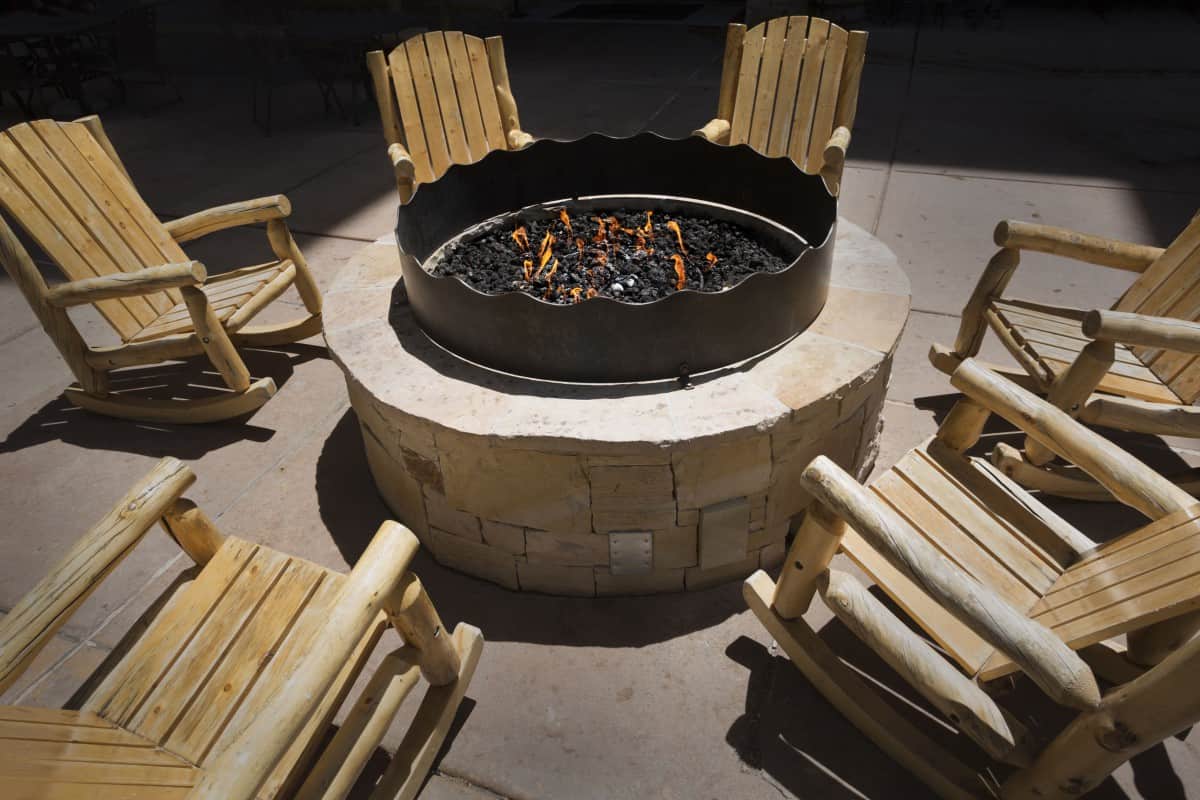
You might be wondering why your fireplace doesn’t keep you warm even if you have a full fire going?!
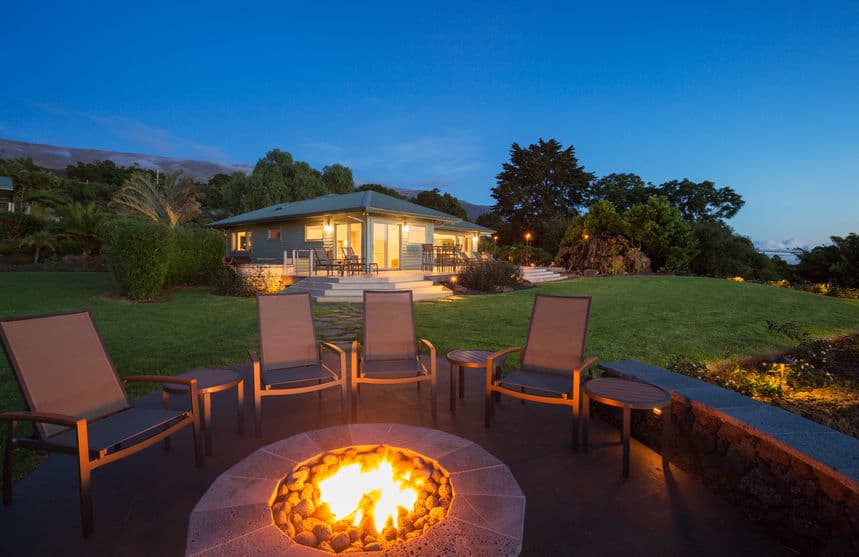
Whether you built your fireplace yourself or it came with the house in your backyard, we understand your frustration. Everyone wants to enjoy a hot cup of cocoa under the night sky without freezing into an icicle, but your fire pit isn’t complete without a heat deflector.
Heat deflectors are a game changer as they redirect the heat released upwards, sideways where people actually sit around the fire pit. Heat deflectors are also transformative and can turn your fireplace grill into a hot oven.
In this article we’ll walk you through the steps and decisions to make in order to create your own fire pit heat deflector…
Before We Start
Heat deflectors come in all shapes and sizes, some may be shaped like a dome while others are a cone or simply rectangular but all have the same job. There are many on the market, for instance we recommend the US Made heat warden:

But if you’re not willing to invest, then here’s a step by step guide on how to make your own.
Caution: Heat deflectors are not easy to make and might require heavy machinery and welding, be sure to have a partner and keep a first aid kit around you. Most of these machines are easy to use but it’s safe to have a professional supervisor.
Before attempting any of this, confirm with your hardware store if the materials you’re using are safe and can be used as you intend to use them so that you do not end up with materials that react with heat, or cannot be used in heat deflectors.
What are heat deflectors?
Still not sold on heat deflectors? Let’s back it up with science. There are three ways heat transfer takes place: radiation, convection and conduction.
Radiation results in minimum heat transfer therefore convection plays a major role in heating up the area around a fireplace as conduction only takes place through solids.In convection, the heat from the fire warms up the air around it and because warmer air is lighter it rises upwards.
What heat deflectors do is redirect the warm air so it blocks it from rising upwards and makes sure it travels sideways instead.
It also in turn helps redistribute the warm air so that it uniformly heats the area around the fire, transforming it into an oven.
Let’s Get Started
The heat deflector we’re making today consists of two parts: the lid and the stand.
The stand can either be attached to the lid or can be left unattached so that it is not only easier to remove but also easier to clean, though the heat deflector with the detachable lid is preferred for fire pits with circular liners.
The lid is rectangular and will be placed flat on the stand.
Things you’ll need:
- Malleable sheets of your chosen metal. 18 gauge metal sheets.
- Metal bars for the stand.
- Screws.
- Soldering gun.
- Metal Shear
- Drill
- Clipper
- Brake (Helps bending the metal sheets).
- Pliers
- Rivets
- Riveter
- Scribe
Measuring your fire pit:
This is one of the easiest but most important steps. The reason we will not be specifying the measurements for your metal sheet is because it will vary for every fire pit, hence you must decide on your own how large your metal sheet must be.
This will be required for the lid and must be a little bigger than your fire pit so that it covers it fully and is able to stand on the fire pit liner instead of in the fire pit.
Imagine where you want to place your heat deflector and measure the fire pit from end to end where you imagine the legs of the heat deflector would stand, then add an inch and a quarter to all four sides.
That is how big your metal sheet should be, as the 1.25 inches from each side will be bent to form a heat deflector.
Choosing your material:
So, aluminium or stainless steel?
Aluminum:
If you want to make a heat deflector without breaking the bank we would suggest aluminium, but there are other advantages of aluminium besides being cheaper than stainless steel.
Aluminium is also easier to weld than stainless steel which is important to consider if you plan on welding the legs to the lid. Aluminium is also more workable, meaning it is easier to bend and work with, with simple tools than stainless steel is.
But aluminium is a better thermal conductor meaning it can not only uniformly heat up and help distribute heat, but it can also lose a lot of heat. It is also more reactive with foods which might change their color or odor.
Stainless Steel:
Although stainless steel is more expensive, it is also stronger and sturdier than Aluminium. Not only that, but it is often used in heat shields as a heat blocker which will prevent your fire pit from losing heat, increasing its efficiency.
And lastly, it does not react with food. Most use 304 stainless steel for the lid.
How to Make the Lid:
- Use a metal shear to cut the sheets up to size.
- At each corner, measure half an inch from each side and mark it with a scribe. Drill a small hole there. The size doesn’t matter as it’s just to help cut the edges and bend the sheet.
- Trim the edges of the sheet in a circular fashion using a clipper. And then using the same cutter, snip the corner right to the hole that you drilled, cutting the corner in half.
- Then use a brake and bend each side up to 60°.
- Using pliers, bend the corners of each intersecting side such that they overlap each other and drill a pilot hole through them.
- Insert a rivet through each hole using a riveter, connecting the corners of each intersecting side.
- OR you can even weld the sides together with a soldering gun.
Voila your lid is ready!
How to Make the Stand:
Make a stand that is attached to the lid:
For this you will need four metal bars. The smallest size we recommend is 0.5×1.5 inches; just make sure your bars aren’t hollow so that you can screw them on.
The easiest way to decide where to place the legs is to get someone to hold all four bars where you want the heat deflector to stand, then place the lid on the legs and mark with a file or sharpie where the sides of your bars coincide with the lid.
One by one, hold a bar in place under the lid and drill a hole through them, then secure each bar with screws. If this is too difficult, drill a hole in your rod beforehand and according to that measure and drill a hole in your lid.
Tip: Makes sure any screws you use are aluminum or steel and avoid galvanized screws as the zinc releases fumes that are toxic when heated, which can even accumulate on food.
Make a stand attached to your fir pit liner:
This is useful if your liner is circular. According to the height and inner diameter of your liner, mold a metal sheet so that it lines the inner wall of your fire pit and weld the ends together.
Then weld each of the legs in place to the sheet so that they are placed at the corners of the lids. Make sure to use silver for welding. Screw the metal sheet to your fire pit liner to secure the stand to its place.
If you wish to permanently secure your heat deflector, screw the legs of the stand on the lid.
What type of screw should I use?
- Selecting the right screw style: For making a heat deflector you will need to use a power drill. The best screws to choose from are square and torque head screws, though flathead and Phillip style are good choices too as they keep your drill bits in place, providing stability.
- The screw gauge you’ll use depends on the width and weight of the material you’re drilling into. For making a heat deflector, choose stouter screws.
- As for the length of the screw, you should select a screw that is at least half the length of what you are drilling into. If the screw is less than half its length it might not anchor properly into the material, but if it is more it might actually damage the opposite side of the material.
And that’s it! That was our complete DIY guide to making your very own fire pit heat deflector.
Conclusion:
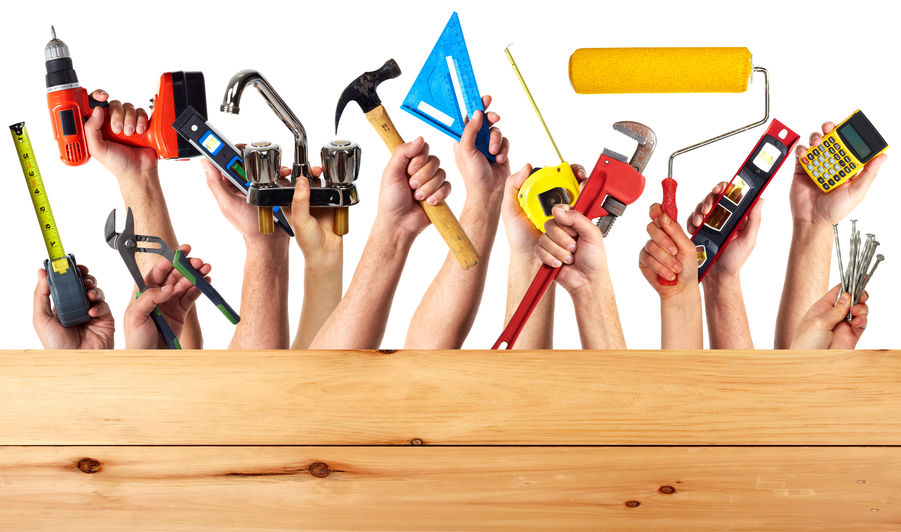
For you to reap the full benefits of a fire pit, a heat deflector is a must. But make sure you’re a handyman for this one because it requires materials, machinery and various tools.
Safety is a must with this project; some of the things you will need are safety goggles, gloves and a welding helmet. While drilling, be wary of shrapnel and make sure to pick it up after you finish as it can easily pierce the skin.
Happy Building!
Alright, that’s it for this article guys, if you found it useful then a share on social media or your website would be cool!
All the best
Steve
ps here’s a few articles related to this one you might find interesting: