Spending a chilly night around the campfire, eating s’mores and drinking hot chocolate with family seems like bliss, but in reality, the hot chocolate is cold, and the s’mores rarely end up perfectly done because you’ve already spent half the time trying to get a fire going.
And a little while later you can hear children coughing from the smoke while the others are still shivering. Instead of investing in expensive heat deflectors or spending the evening alone on fire duty, getting a Solo Stove might be the perfect solution for you.
Solo Stove focuses on your experience more than anything else and as a result, never compromises on quality. A stress free night around the fire pit, campfire or a roaring barbecue is a win for all.

Benefits of Solo Stoves
One of the many benefits of Solo Stoves are that they’re designed to be portable, so you don’t have to worry about reserving extra car space or lugging it around. Not only that but they’re made out of 304 Stainless Steel, which makes them extremely durable and rust free while also being lightweight and easy to carry!
Buying a Solo Stove is definitely an investment in the long run. Solo Stoves are made with a double wall design along with distinctive air flow vents, part of our Signature 360° Airflow DesignTM , which is ideal in creating an efficient secondary burn, resulting in less smoke produced.
Feel free to select the perfect Solo Stove from the incredible variety to fit your needs. Not only does Solo Stave have a range of fire pits, grills and camp stoves varying in different sizes but they also have an incredible selection of accessories to make your experience even more enjoyable, whether it be the roasting sticks for getting those perfectly toasted marshmallows or a shield to calm those embers.
How do Solo Stoves Work? (Explained for Beginners)
To get the best out of your Solo Stove here is everything you need to know.
Where to place your Solo Stove?
To make sure your Solo Stove doesn’t tip over and fall at any point we recommend placing it on level ground. Make sure the ground is even enough so that your Solo Stove isn’t tilted or doesn’t have any trouble standing on its own.
You also want to make sure that the place you’ve selected does not have any flammables littering the ground within five feet of your Solo Stove. Flammables can also include leaves, grass, twigs etc. If there are flammables near your Solo Stove, make sure to clean all the debris from the ground within the given radius.

Fuel: What to Use
Now this is the tricky part; you need to remember a few things if you’re a first-time camper but once you get the hang of it, gathering fuel will be a piece of cake. The first thing to remember is that when using a camp stove, dry twigs and tinder are always better than wet biofuel.
The moisture on wet biofuel causes incomplete combustion and will result in more smoke from poorly burning fires. If you’re scavenging for fuel at a campsite, gather a good number of twigs and break them into pieces about the size of your thumb, approximately two to three inches long. For camp stoves you can use anything from twigs, sticks, pinecones and other forms of biomass.
If you’re flexing your Solo Stove fire pit it’s better to have logs on hand, the size of the log will vary according to the fire pit you have. The Ranger can handle four to six logs up to 12 inches long, whereas for the Bonfire you can use logs up to 16 inches long and a maximum of 22 inches long for the Yukon.
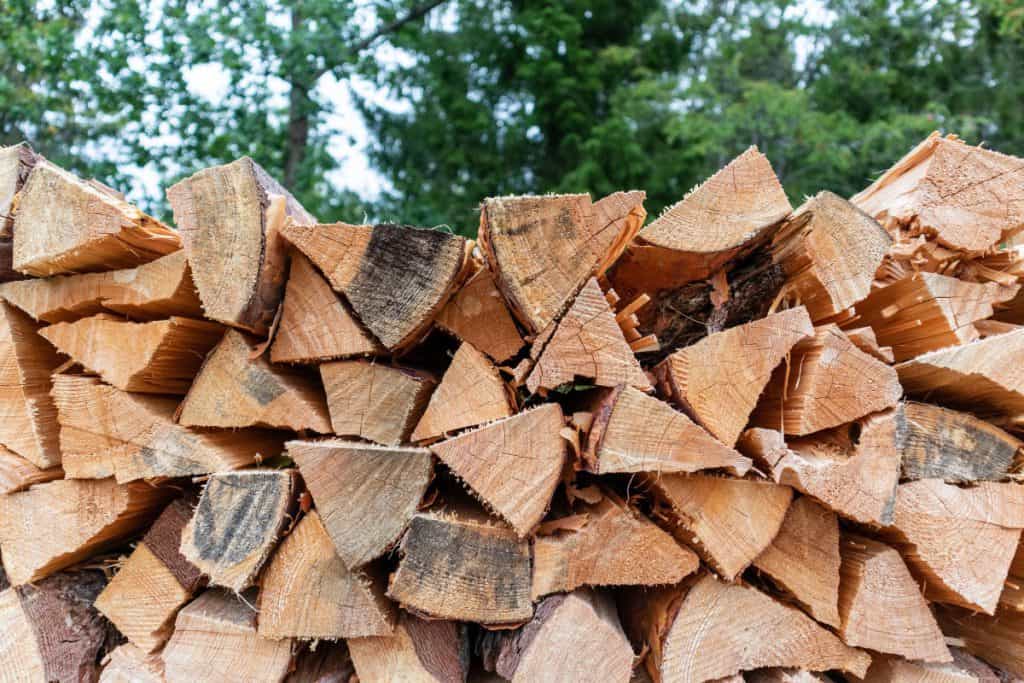
It’s more efficient to use hardwoods than softwood as they tend to burn longer and generate less soot. Hardwoods include maple, hickory, birch, oak etc.
Do not ever use wood pellets in your Solo Stove as they can get stuck or pass through the holes of the grate. Wood pellets swell from exposure to moisture and this can even damage your Solo Stove if they happen to pass through the grate.
Starting the Fire
If you’re using a camp stove, it comes with a built in cooking ring. Before starting the fire or even placing the fuel, remember to remove the cooking ring so that it is easier to arrange your biofuel for maximum efficiency.
After doing so, place your fuel and light it with a match or a Fire Striker and wait for a sustainable flame to develop, then pace the cooking ring back in its place and enjoy! But if you’re using the Solo Stove Fire pits then there’s no cooking ring as it is not primarily designed for cooking.
“Pro tip: While cooking on the Camp Stoves, use a bar of soap to coat the bottom of your pots to protect them from soot. At the end your pot might still be black from the soot, but after washing the layer of soap off it’ll be good as new!“
How to Place Your Wood for a Smokeless Fire
If you’re confused on how to place your fuel then worry no more! We have the perfect tips to get a beautiful flame started no matter which Solo Stove you’re using.
To start, no matter the type of fire pit you’re using, add a base layer of chunkwood approximately two to three inches long and line the bottom of your fire pit. You can even use twigs, sticks, dryer lint or pinecones.
Then:
- For Ranger, once the chunkwood you used for your base layer catches fire, add chunkwood splits one at a time, laying them across each other for better oxygen flow. Stop once the wood reaches the top vents. While adding the chunkwood splits, wait for each of them to catch fire before adding in the next one.
- For Bonfire, on top of the chunkwood base arrange twigs or chunkwood splits in a pyramid at the center. For spreading the heat to the outer walls then add hardwood in a circular manner after you’ve added the tinder. The hotter your walls will be, the better the secondary burn achieved.
- For Yukon, arrange the hardwood in a circular fashion on top of the chunkwood, resembling a clock’s face. After the hardwood logs have caught fire, push them towards the outer walls of the fire pit.
Do Solo Stoves Come with a Cover?

Solo Stoves do not come with a cover, although they do come with a black nylon bag. If you wish to keep your Solo Stove outside, it’s best to purchase a lid or a Shelter to protect it from the elements.
A lid covers the top of your fire pit insuring that nothing damages the inner components while a Shelter, made out of PVC-coated polyester, envelops your fire pit protecting it from rain, dust, snow etc.
On the other hand, if you require a cover to protect you from flying embers, then the best course of action would be to get the Shield. The Shield is a perfect addition to your fire pit; it covers the top of your Solo Stove, preventing any sparks and embers from escaping, not only protecting you but also the furniture and flooring.
If you’re interested in purchasing the above accessories, they are available separately and are also included in multiple bundles like the backyard bundle, ultimate bundle and accessories only bundle.

How the Solo Stove Stand Works and Why You Need One
Ideally you would clear flammables and debris from where you’re using your Solo Stove, but that’s not always possible. What if you’re in your backyard or on wooden flooring? This is where the Solo Stove stand steps in.
This Stand, made out of 304 Stainless Steel, is heat resistant and elevates your fire pit, allowing cool air to travel through the vent holes, keeping the bottom of your fire pit cool. You would especially need one if your fire pit is placed on heat-sensitive or uneven flooring like:
- A Wooden Deck
- Composite or PVC Decking.
- Green Grass
- Sand. Sand on the beach can be pretty uneven and so the stand helps your fire pit to sit up straight.

Which Solo Stove Accessories Make the Most Sense to Buy?
Apart from the stand which is at times a necessity, these are the top three Solo Stove accessories you should definitely invest in:
Windscreen
Super lightweight, made out of anodized Aluminum, this accessory makes sure your fire never goes out no matter how windy. The eight-panel folding windscreen has extendable ground pegs which can perfectly fit into any terrain. If you camp a lot, this accessory is essential to make sure you’re not always tending to the fire because of the wind.
Shield
The Shield is a two-piece design made out of 304 Stainless Steel, aimed to stop spontaneous sparks and embers from flying out. This accessory is ideal if your fire pit is placed near furniture, on heat sensitive flooring or even near children. Where there is fire there are sparks, hence this accessory comes more under safety than recreational.
Shelter
If you keep your Solo Stove outside and live in a place where you get to experience all four seasons, or the weather changes a lot, then buying a Shelter along with your Solo Stove is the safest bet to keeping it safe from the elements.
Your Solo Stove would also last a lot longer and won’t show signs of degradation. This is also useful for frequent campers to protect their Solo Stove from the rain and debris that might hit their Stove when it’s windy.
In Conclusion
We hope these tips on how to work your Solo Stove and the explanation of various accessories was not only useful but helped you decide the perfect picks for you. In the end it depends on the setting you’ll use your stove in and the experience you want to have.
Whether it’s a night of telling stories around the fire pit or a hot meal in the middle of Mother Nature’s finest, Solo Stove strives to make sure your memories are the best!
Alright, that’s it for this article guys, if you found it useful then a share on social media or your website would be cool!
All the best
Steve
ps here’s a few articles related to this one you might find interesting:

