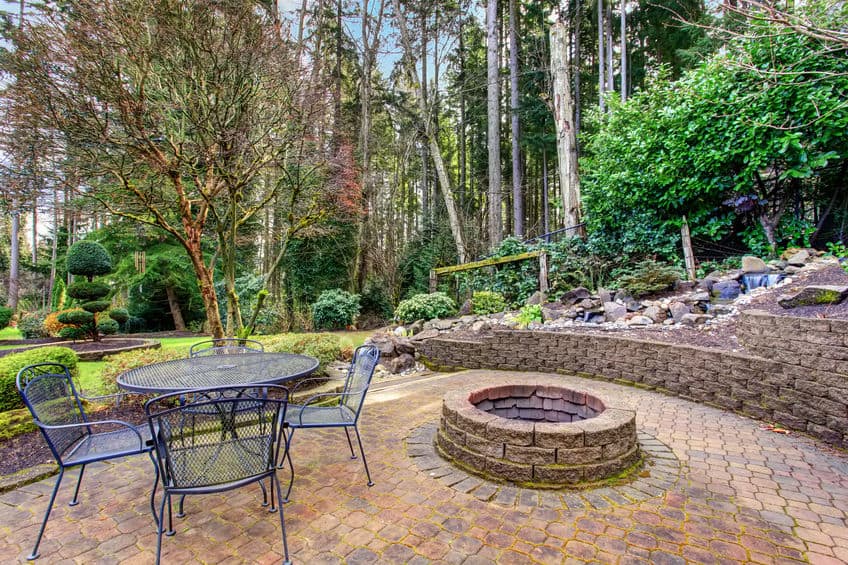
Fire pits bring to mind a sense of comfort, warmth and serenity-family and friends gathered around a crackling fire sharing laughter, memories and quiet conversations.
They are the perfect setting for any gathering; be it family get-togethers or lively dinners with friends and colleagues. Along with their versatile uses, fire pits are ideal to style up your backyard or patio and give it a beautiful rustic charm.
If you are searching for instructions and tips on how to construct your very own fire pit at home-look no further. This comprehensive guide will provide all the necessary information as well as answers to common questions asked by beginners.
Can you buy brick fire pit kits?
Yes, you can easily buy DIY brick fire pit kits in-store or online from home improvement and hardware shops like Lowe’s, Home Depot or even Amazon. These kits are available in different sizes and usually include bricks, construction adhesive and a metal ring to line the inside of the fire pit.
Apart from the materials included in the kit, some fire pits might require extra tools for installation so make sure to go through all the instructions and details provided by the manufacturer.
“DIY fire pit kits are convenient, but they have one downside-you can’t design and customize the fire pit exactly according to your liking or to fit the aesthetic of your backyard or patio.“
Do I need a specific type of cement?
If you want to build a long-lasting and permanent fire pit then it is necessary to use materials that don’t get damaged by the flames. It is recommended to use refractory cement (a special type of cement that can withstand high heat) to line the inside of your fire pit with heat-resistant firebricks.
Refractory cement is usually premixed and has a consistency similar to that of peanut butter. Using this will help avoid cracks and heat damage.
For the outer wall, ideally use type N mortar when layering the bricks together. If you don’t want to use any cement or adhesive at all, use a metal ring for the inner lining of your fire pit and dry-stack bricks or stones around it.
How long does it take to build a brick fire pit?
The time taken really depends on the level of precision or amount of customization you are aiming for. The more effort and care you put into planning, laying out and constructing the fire pit, the longer it will take.
Whether you bought a DIY kit or are starting completely from scratch, a simple and basic fire pit shouldn’t take more than a few hours to be installed. A bigger, well-made fire pit could require a couple of days to be made.
Make sure that the cement or construction adhesive has completely cured before lighting a fire-this can sometimes take up to a week, so some patience is required before you can enjoy hot s’mores by the fire pit.
Can you use regular bricks in a fire pit?
Inner wall:
For the inside of the fire pit use either a metal ring or firebricks, as they are heat-resistant and protect the outer wall. Firebricks are special refractory bricks that can withstand high temperatures and are often used to construct structures that are exposed to extreme heat such as kilns, furnaces and fireplaces.
They are more expensive than regular bricks but will ensure that your fire pit stands strong in the years to come. If you use regular bricks for the inner part, chances are that they could crack or shatter.
Outer boundary:
The outer wall should also optimally be constructed from fire-rated materials but you can use regular face bricks, red bricks, stones, or concrete blocks for it.
Make sure that the bricks or stones you use are non-porous with less than 3% maximum moisture absorption. Water inside the bricks can turn to steam and cause them to explode when a fire is lit.
What do you put at the bottom of a brick fire pit?
There are a variety of options to choose from when filling the base of the fire pit. These include easily-available and inexpensive materials such as sand and gravel.
Sand is an especially good choice because a thin layer absorbs extra heat which protects the base of your fire pit, and also ensures that heat is evenly distributed throughout. However, if the fire gets extremely hot there is the risk that the sand or gravel could explode.
Other possibilities include lava rocks and fire glass-both of which are highly flame-resistant and look incredible in a fire pit. They are more costly in comparison to sand and gravel, but worth the investment if your fire pit will be in frequent use.
“There are certain rocks and stones that should be avoided when filling the fire pit such as sandstone, limestone, pumice and river rocks as they can explode or shatter when exposed to intense heat. Any type of wet filling must be avoided in the fire pit as the steam could cause an explosion.“
How safe are brick fire pits?
This depends on the safety precautions taken and the materials used while building the fire pit. Generally, fire pits are considered safe as long as they are constructed at a good distance from flammable objects and are properly maintained.
Before starting construction make sure to find out whether any utility lines run in the area and position your fire pit away from trees, fences and sheds.
Be vigilant whenever a fire is lit and keep children away from the pit. Sit at a safe distance from the fire as it could emit sparks. When putting the fire out ensure that all the flames are completely extinguished; even glowing embers must be put out by throwing water or dirt on them.
Brick fire pits do tend to show signs of weathering and damage with time – especially if fire-proof materials aren’t used. Pieces of rock could crack and explode if the heat is extreme or wet filling is used.
Simple steps to build a brick fire pit:
1. Clear the Space
Choose a suitable location for your fire pit (at least 15 feet away from trees, sheds or other flammable structures) and remove any sticks or vegetation present in the space.
Make sure to find out whether there are any legal or safety restrictions imposed by local authorities on the construction of fire pits in the area by calling their helpline.
If you are using a store-bought kit, follow all the instructions outlined by the manufacturer to a tee.
2. Lay the Base for Your Fire Pit
After clearing the ground, mark out the size and shape of the fire pit using spray paint. In case you are constructing your fire pit on a paved surface such as a patio, make sure that the stones are level and can withstand the heat.
If you are working on a lawn excavate a few inches of soil, tamp it down and cover with a thin layer of gravel. To ensure that your fire pit stays stable in case the ground shifts, it is important to lay down a concrete footer (using regular concrete mix) for a solid foundation.
3. Build the Inner Wall
The inner wall is exposed directly to the flames so it is best to use heat-resistant materials such as firebricks and refractory cement in its construction.
Soldier the bricks (arrange in an upright manner) around the outline of your fire pit and incorporate small gaps at regular intervals by splitting 3 or 4 of the firebricks in half. This will help with airflow as the fire needs a constant supply of oxygen to burn. Cement the bricks together to finish up your inner wall.
If you want a temporary fire pit or are using a metal ring for the inner lining, you don’t need to line the inside with firebricks and can proceed to building the outer boundary.
4. Construct the Outer Wall
You can build the outer wall with regular bricks or cement blocks but ideally use materials that can withstand high heat and weathering. Leave a quarter-inch space between the inner and outer wall and mortar the bricks together.
Keep checking to ensure that the courses are level and stagger the joints between layers to make the wall stronger and more durable. When finished, fill in any gaps with mortar and smooth out the joints with a concave jointer.
5. Finishing up
Once the mortar or construction adhesive has cured completely (this can take a few days), you can put a thin layer of gravel at the bottom of your fire pit for drainage purposes and light a fire. Lava stones or fire glass are heat-resistant materials that make good fillers and will lend a decorative look to your fire pit.
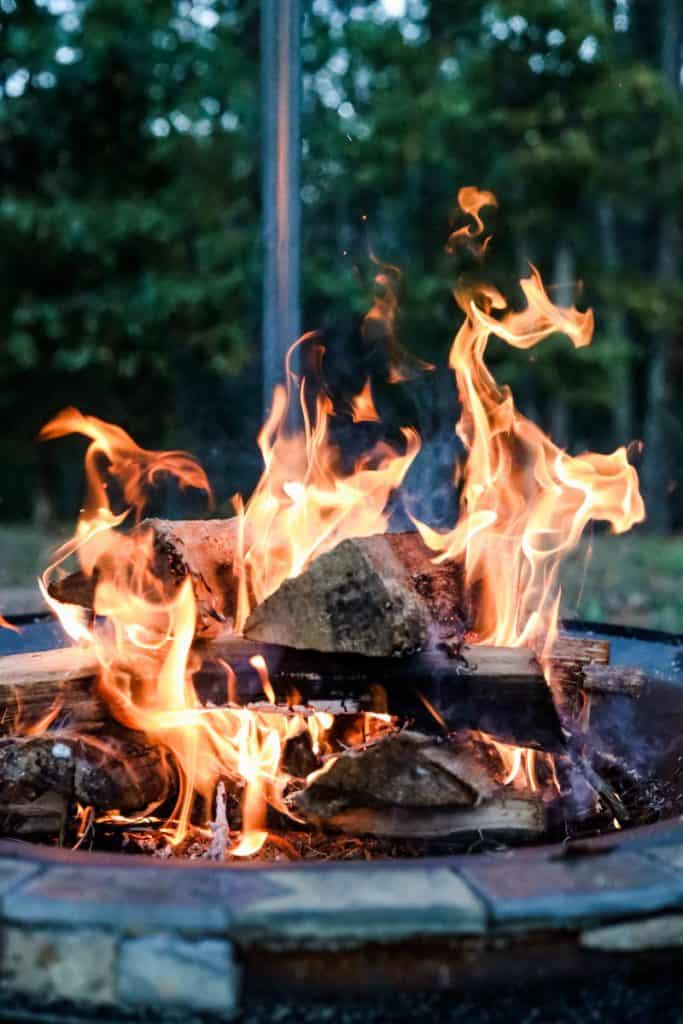
Now you too can enjoy a roaring fire in your backyard that takes away the chill of winter evenings! Pull up a chair by the fire pit and bask in the warmth and light.
Alright, that’s it for this article guys, if you found it useful then a share on social media or your website would be cool!
All the best
Steve
ps here’s a few articles related to this one you might find interesting:
Propane Vs Wood Fire Pit Environmental Impact (The Numbers)