Philips Hue and Nanoleaf are two of the most well-known brands for smart lighting. What makes them even more exciting is that they don’t produce the same products. Essentially, if you have an unlimited budget, you don’t have to choose between the two of them. You can have the excellent smart light bulbs from Philips Hue and the exceptional triangle light panels from Nanoleaf. So here, we will discuss how you can get them to work together to create the best smart lighting setup for your home.
Can I set up Philips Hue with Nanoleaf? Connecting Philips Hue with Nanoleaf is possible with the use of system frameworks that integrate smart devices like Apple Homekit, Google Home, and Amazon Alexa. Other apps like IFTTT and LightDJ also make this integration possible.
For those who are looking to make their homes even smarter, a device’s compatibility with other gadgets is very important. Luckily for Philips Hue and Nanoleaf, this is not a problem you have to deal with. You only have to add the lights to your Apple or Google Home app and voila! You can just say, “Siri, turn my lights purple” and both the Hue bulbs and Nanoleaf panels will turn purple. If you want to know exactly how you can do this, continue reading.
Knowing Your Philips Hue Plus Nanoleaf
Philips Hue
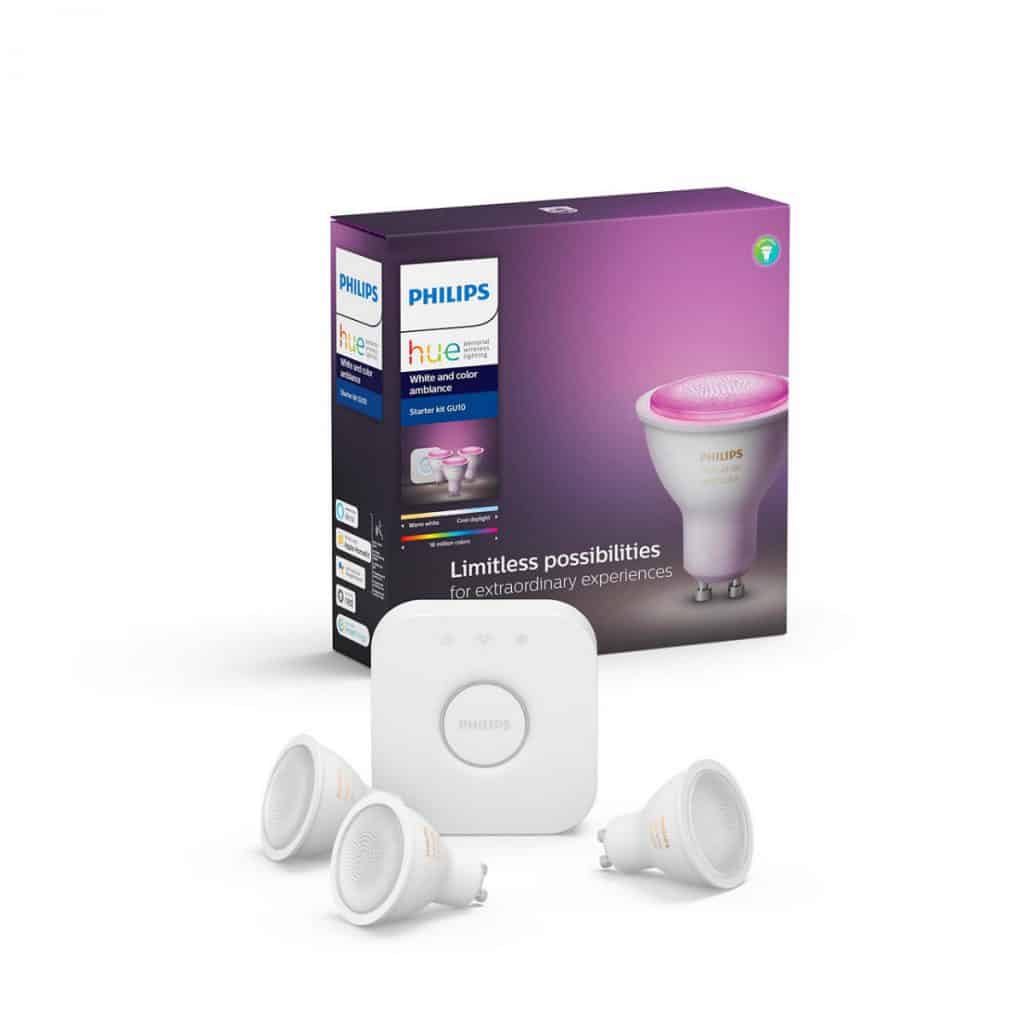
Philips Hue is probably the brand that first comes to mind when we think about smart color-changing bulbs. For years, Philips Hue has been at the forefront of convenient and customizable lights. Up until now, their premium image and high quality have made them the top choice for smart LED bulbs. As such, a lot of smart homeowners have these lights installed in their houses.
The benefits of owning Philips Hue include compatibility with almost all smart home platforms and the option to sync them to your movies and games. The wide range of vibrant colors you can choose from is also a great advantage people think is worth their money. Now, if you get this to work with the Nanoleaf light panels, it will be the ultimate smart home experience ever.
Nanoleaf
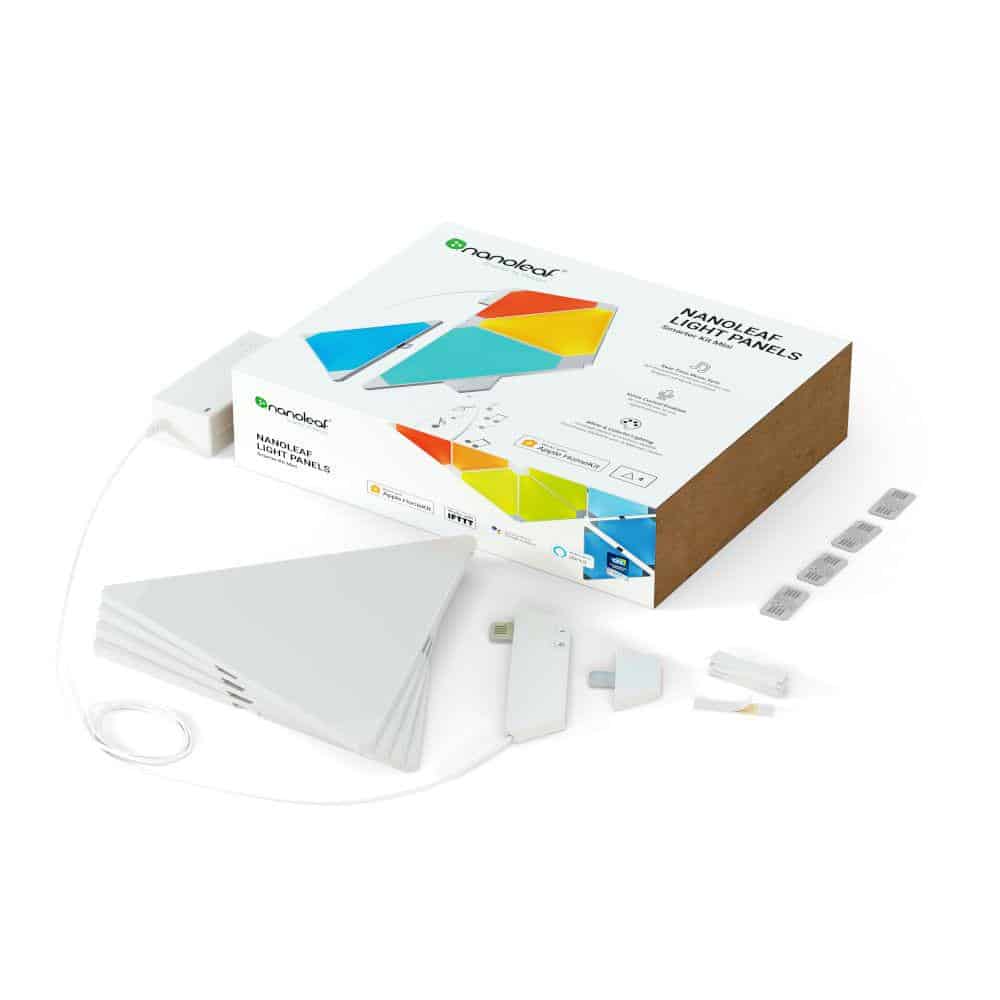
Nanoleaf is the brand that manufactures those iconic slim triangular-shaped light panels attached to the walls of tech Youtubers. Don’t get me wrong; there are a lot more smart homeowners who have the 9-panel kit or the 15-panel kit, and they aren’t necessarily on YouTube.
One cool thing about Nanoleaf is that you can shape it the way you want to. You just have to plan your layout in the app, and you can form anything you like as you add more panels. But, do mind that there is a maximum of 30 panels per controller. With this smart and colorful wall decor, the colors from your Hue bulbs are also emphasized for a well-illuminated home.
Furthermore, just like Philips Hue, Nanoleaf works with Amazon Alexa, Google Assistant, Apple Homekit, and IFTTT.
Combining Your Lights to Build the Perfect Lighting Powerhouse
The Basic Idea of Integration
Currently, you cannot integrate the Nanoleaf panels with the Hue bulbs using the Hue app. Unfortunately, this is one of the areas where the Hue app disappoints. However, users have already found a workaround to this by connecting both Nanoleaf and Philips Hue to their smart home platform. This system, in turn, will allow the users to create a room or group that includes the Hue bulbs and the Nanoleaf.
Apple Homekit
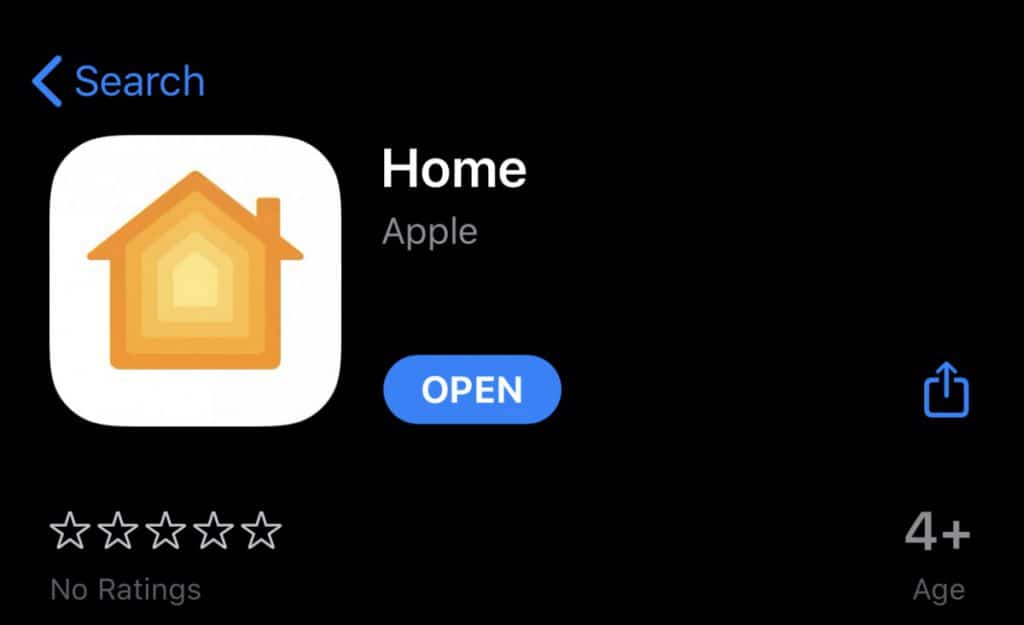
Of course, to use Apple Homekit, you should have an Apple device that is updated to the latest version of iOS/macOS. Since Apple has a range of gadgets you can use to control your lights, users find it more convenient to use Homekit. These lineup of gadgets include the iPhone, iPad, iPod touch, Mac, or even just your Apple Watch. So, if you have all of these, you’ll surely find it easier to access your lights anytime and anywhere.
Next, to sync the settings and control of your smart home gadgets in the Home app across all your Apple devices, sign in and use the same iCloud account on each device. Next, you have to add your Hue Lights and your Nanoleaf individually. To do so, follow the steps below that are provided by Apple on their webpage:
- On the Home app, tap “Add Accessory.”
- Then, use your camera to scan the 8-digit HomeKit code or QR code found on the accessory or its manual. For iPhone 7 models or later, you can also place the phone near the gadget’s pairing signal, which is denoted by a “WiFi-like” symbol.
- Next, when the accessory appears, tap it and click “Add Accessory to Network” then tap Allow.
- Following this, you can name your accessory any way you want. You can also assign it to a room to organize your Home app and make it easier to direct Siri when the time comes.
- Tap Next, and that’s it you’re done! Do this again for the Philips Hue or Nanoleaf, whichever one you didn’t do yet.
From there, you can modify the information about your smart device, control features like brightness and color temperature, and even delete the accessory from your Home app. After adding both the Philips Hue and Nanoleaf, you can set a scene or a combination of light settings to incorporate the two devices. You can also organize them into a room or just a simple group.
To set a scene:
- In the Home app, find Add Scene by tapping the upper right corner. Then, choose a pre-programmed scene or create and name your own.
- After that, add the accessories (in this case, Philips Hue and Nanoleaf). You can adjust the setting for each accessory and see how it looks in “Test” This Scene.
- You’re done!
To add a room:
- Go to the Rooms tab and go to Room Settings in the upper left corner.
- Then, Add Room, name it, and save.
- Go to the accessory you want to add to the room. Long press on the accessory, tap Room and click which room you want to assign it to. So, you might want to assign Philips Hue and Nanoleaf in the living room, for example.
After following these steps, you can also group the rooms into zones, add a scene to your “Favorites” for easy access, and even create automation. You can read more about this on Apple’s guide to setting up Homekit.
Google Home
Just like in Apple HomeKit, you have to add each of the lights to Google Home. To do so, follow these steps from AndroidCentral and SmartEnlight:
- From Home Control, tap the blue plus button to add your Philips Hue/Nanoleaf.
- Set up your device by signing in to your Philips Hue/Nanoleaf account.
- Then, tap Allow, giving Google Home access to your smart lights.
After adding the accessories, you can create a Google Home Routine to control your smart devices at the same time. To do this, you can follow these steps from trustedreviews.com.
- Go to settings in the Google Home app to access Google Assistant services. Then, create a new routine. From there, you can add commands or the phrase you would like to tell Google Assistant when you want it to perform this routine.
- Next, add actions. This is where you specify which lights (in this case, Philips Hue and Nanoleaf) you want to control. You can also just place the room these lights are in.
- Lastly, don’t forget to save the routine!
You can also set scenes through the Philips Hue app, but this will only control the Hue lights, and it’s a bit more complicated.
Amazon Alexa

If you want to use your lights with Amazon Alexa, you also have to start by adding your lights. Here are the simplified steps from Tom’s Guide:
- In the Alexa app, tap the home symbol then the plus sign to add a device. Make sure to do the necessary steps for pairing like pressing the button on your Hue Bridge or the hub for the Philips Hue bulb.
- After adding the device, you can group the lights with other smart home devices like Nanoleaf if you added that first. Just like Google and Apple, you can group them by room or any way you like.
Through Amazon Alexa, you also have access to scenes you create in the Philips Hue app. If you’re having trouble with setting up your Nanoleaf, you can refer to this guide from their official website.
To create a routine, Tom’s Guide also provides the following steps:
- Access Routines in the side menu,then tap the plus sign to create a new routine.
- Next, set a trigger. This basically means establishing when you want the lights to do a certain action. This can be a phrase, a specific time, or a specific day. If you go for the latter, this is called a Schedule, and Alexa will provide you with the days and times of the week you want it to perform the routine.
- You can add more actions by pressing the plus sign.
IFTTT
IFTTT stands for “If This Then That” which basically means that a trigger will set off another action. IFTTT is an applet made to integrate two or more services together. It is free, and you can use it with smart home systems like Amazon Alexa and Google Assistant.
Once you create your account with IFTTT, the process is very intuitive, and you can easily add both your Philips Hue and Nanoleaf in the applet. If you want to turn on your Nanoleaf lights when you arrive, check out this tutorial from IFTTT. There are a lot more forms of automation possible, like changing the color of your lights when it starts raining or turning on the lights right before sunset. With IFTTT, the sky’s the limit.
Other Systems and Apps
You can also do this integration with LightDJ, which is an app available for both iOS and Android. In the app, you can connect your Philips Hue and Nanoleaf Aurora to create an action with your lights. LightDJ allows you to sync your music with your lights and even create strobe effects.
If you want to explore other options, check out Hue and Me and Samsung SmartThings. Take note, however, that to use both Hue and Nanoleaf, you have to use IFTTT with Samsung SmartThings.
Conclusion
All in all, there are a lot of ways to integrate Hue Lights and Nanoleaf. However, you would have to do your research if you want to get into the nitty-gritty of things. You also have to note several factors like system upgrades and device compatibility if you want to ensure that the process goes off with a hitch. But, with resourcefulness and the love for a smart home, there is no doubt that you can build your lighting powerhouse on your own.
I hope you enjoyed reading this article, if you found it useful then share it with other people who might be interested in learning more about hue lights and nano leaf integration!
Steve
p.s. If you want to learn more about which LED lights are best for your kitchen check out Which LED bulbs are best for the kitchen?