
In the words of a Twitter user who shared photos of his Nanoleaf set up in the bathroom, “To really enjoy a big, new shower you need an awesome lighting system.” Truly, nothing beats a shower staring up at a colorful lighting panel layout. However, Nanoleaf’s official account did reply to that tweet and said “The photo looks great, but please be cautious to not get water on it since it is not water-resistant!”
Can you use Nanoleaf in bathrooms? Yes, you can use Nanoleaf in bathrooms by super gluing them to the ceiling or using screw mounting kits. Either way, you have to make sure that the panels are as far away as possible from water exposure to prevent damage.
In creating the coolest bathroom setup, you also have to consider the extra care and maintenance that will come with installing light panels in a humid and moist environment. Furthermore, you have to deal with the possibility that installing Nanoleaf light panels in bathrooms might shorten their lifespan. In this article, we are going to discuss all of these nuances so you can decide whether or not using Nanoleaf in bathrooms is worth it to you.
Your Guide to Using Nanoleaf Light Panels in Bathrooms
An Introduction to Nanoleaf Light Panels
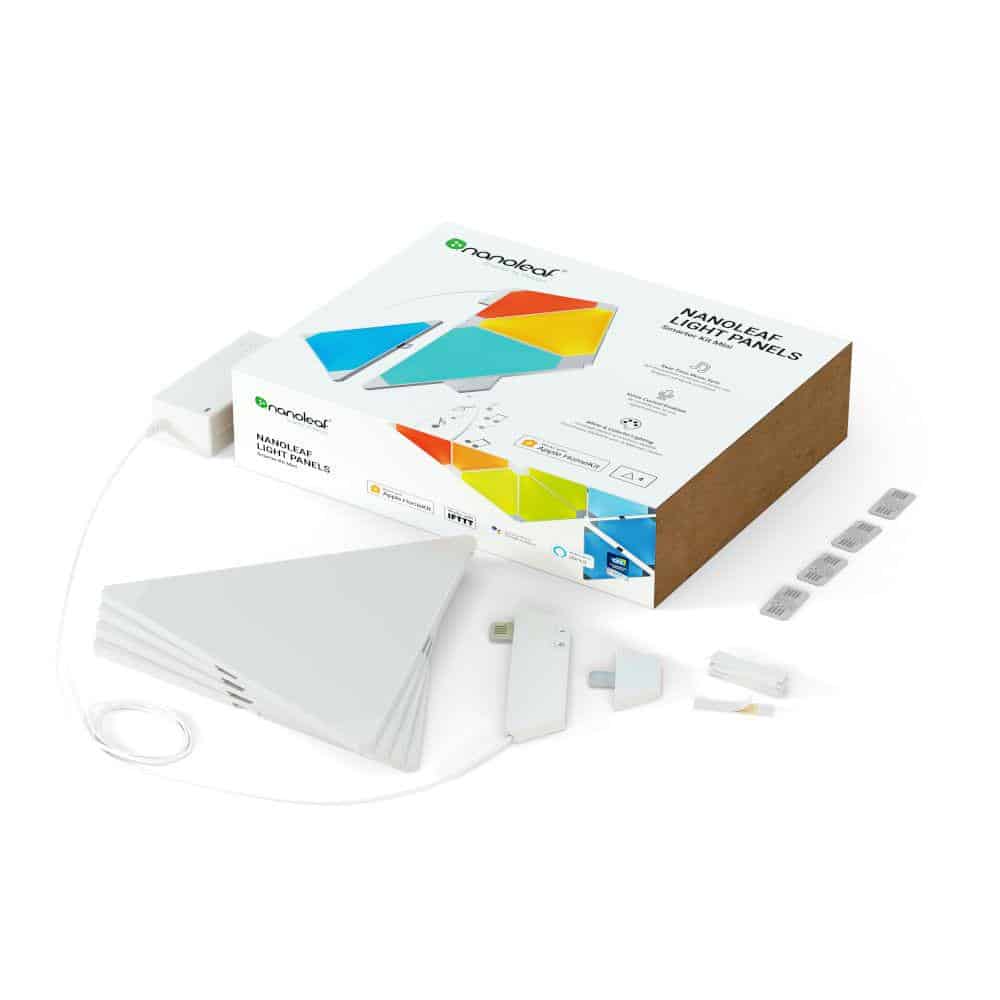
Nanoleaf light panels are triangular-shaped so they can be connected together in any way you want. This customizable feature makes them a top choice for users who want a personal lighting experience. Since these lights can match your personal style, they are often said to be more than just lights in the background but something users can create and make their own.
What makes Nanoleaf light panels more enticing to buyers is the number of features they have. First of all, being smart modular panels, you can easily control them from your phone. Nanoleaf also takes pride in the number of colors that are at your disposal when you purchase these lights — you can choose from 16 million colors to be exact. Lastly, Nanoleaf has features like “Rhythm Module” which allows your lights to dance to your music.
Installing Nanoleaf Light Panels in Bathrooms
Using Super Glue
To attach the light panels to surfaces like ceilings, some people actually use super glue. Although this is not the official mounting solution from Nanoleaf, people like to use super glue because this makes the contraption look less bulky. In the words that most millennials can relate to, this is the more “aesthetically-pleasing” method. It was actually the Nanoleaf user on Twitter who shared this idea and gained a seal of approval from Nanoleaf’s official account for his creativity.
Using Screw Mounting Kits
The Nanoleaf team on Twitter also suggested using screw mounting kits that can be bought directly from their website. However, since this adds a plastic cover over the edges of the triangular panels, as mentioned above, this method may not be as “aesthetically-pleasing” to some users. This costs $24.99 and is definitely a more reliable way to mount your light panels.
To illustrate, one review on Nanoleaf’s official website says that the included 3M strips did not agree with the wall. So, the kit was able to help him secure the panels with ease. That said, inside the kit, there are 12 screw mounts, 12 wall anchors (for drywall/plaster), 12 steel screws (drywall/plaster/wood), and 4 flex linkers for Nanoleaf light panels. Simply, this kit is perfect for installing your light panels on surfaces where you can’t use the included foam tape.

How to Mount Panels on Your Ceiling
The first step in mounting Nanoleaf on your ceiling is to insert the flex linker into your panels to start connecting them in the way that you envisioned. Next, you have to clean your wall to ensure that the surface is as smooth as possible and that the panels can be installed easily. After that, you can mount the first two panels you bridged in the first step around the corner.
Now, you have to take your mounting plate and cut off the pieces that you don’t want. However, take note that this is merely optional because you may not want to remove any parts at all. This basically depends on the design you have in mind. Next, you also have to be aware that there are two kinds of anchors: white is for drywall ceilings while grey is for plaster ceilings. If you’re using the white anchor, you can use the same anchor to drill a hole to your ceiling. On the other hand, if you’re using the grey anchor, you have to pre-drill the hole before inserting the anchor.
With the (pre-cut) mounting plates and nails in your mounting kit, you can begin the actual mounting process. First, you have to place the mounting plate on the panels and then screw the nail in with a screwdriver. The Nanoleaf team also suggests tightening the screw with a power drill to secure the panels. After this, get the mounting cap and cover the screws for a more polished and clean look for your layout. Lastly, plug in your controller, and your Nanoleaf panels should light up as expected.
Possible Problems in Using Nanoleaf in Bathrooms
Since you are mounting the light panels in an area of the home that is not exactly the ideal place for them, there may be some issues you have to prepare for.
Nanoleafs a great LED technology, but what about using another popular brand of smart LEDs in your bathroom. In this article Hue Lights in the Bathroom – A Beginner’s Guide we answer the question of it Philips smart bulbs can be used in your bathroom. It’s totally worth checking out!
Location of the Light Panels
Even if the majority of this article focuses on mounting Nanoleaf light panels on the ceiling, some users get more creative and mount them in other places in the bathroom. On Reddit, a user actually shared a photo of Nanoleaf panels mounted outside of a shower stall but on its glass nonetheless. A comment asked about the moisture and the possibility that placing the panels in the bathroom might shorten their lifespan. The reply of the original post’s owner then brings a lot of perspective to this query.
He said that the plastic on the back of the light panels looked as if they were glitter. Evidently, this means that the light panels were sweating and that this is why most tapes, even the ones included when you purchase Nanoleaf, may not be helpful when installing panels in the bathroom. He said that although you can choose to buy stronger tapes like the double-sided Very High Bondage tape from 3M, you cannot rely on the tape to hold up for a more permanent installation. More importantly, he mentioned that in the short time he tested installing the panels on a shower stall, he would be worried about the resiliency of the panels in the long run.
This is supported by Nanoleaf’s team who emphasized that even if bathroom setups are a cool innovation and a great display of creativity, Nanoleaf users need to be careful to keep the light panels away from water exposure. The panels are not water-resistant so if you’re keeping them near the shower, for example, it is essential to have much overhead space. Of course, this is done to prevent damage to the light panels and to ensure that they will last longer. This way, you get to make the most out of your light panels especially that they cost a lot.
Electric Smart Gadgets in the Bathroom

Another issue that comes into light when using Nanoleaf in bathrooms is the fact that you are using electronic gadgets in a place that is constantly exposed to water. Needless to say, this poses a hazard since Nanoleaf panels are not battery-operated. This means that they need to be plugged in and therefore need to be wired to a nearby socket. With the numerous reports of electrical accidents in the bathroom, aside from protecting the light panels from water, this is then also an important discussion to keep you away from harm.
So as to not get too much into technicalities, as you are already aware, water can carry electricity and this is why their combination is very dangerous, if not deadly. Thus, you need to ensure that light fittings are out of reach when you get out of the bath or the shower. This eliminates the risk of you getting into contact with electricity especially if there are water droplets from your hands. This is why even light switches can pose a danger because damp hands can conduct electricity and put you in harm’s way.
Conclusion
All in all, of course, you have the freedom to use Nanoleaf in bathrooms. You even have two options to mount them, using either super glue or screw mounting kits from the official accessory line-up. However, there are things you have to consider and things you have to really take note of when mounting them. The most important one is that you need to keep them secure so as to eliminate the risk of them falling off and causing accidents, especially that the bathroom is full of damp and wet areas. You should also take measures to keep people away from sockets and other light fittings when they are from the shower. Definitely, when using Nanoleaf in bathrooms, with great light panels comes great responsibility.
If you’re interested in flexible mounting strategies for your nanoleaf panels. Then check out our article on Nanoleaf And Magnets – Everything You Need To Know I found it really interesting researching the topic and there’s a bunch of cool ideas on how to mount your nanoleaf panels.
P.S.
That’s it for this article. I hope you enjoyed reading it and if you think it might be useful for someone else then please share it on social media, email or your own website! It really encourages us to write more content and grow the site!
Steve
If you’re interested in reading more about smart light, smart garages and smart homes checkout some of the other houshia categories including: