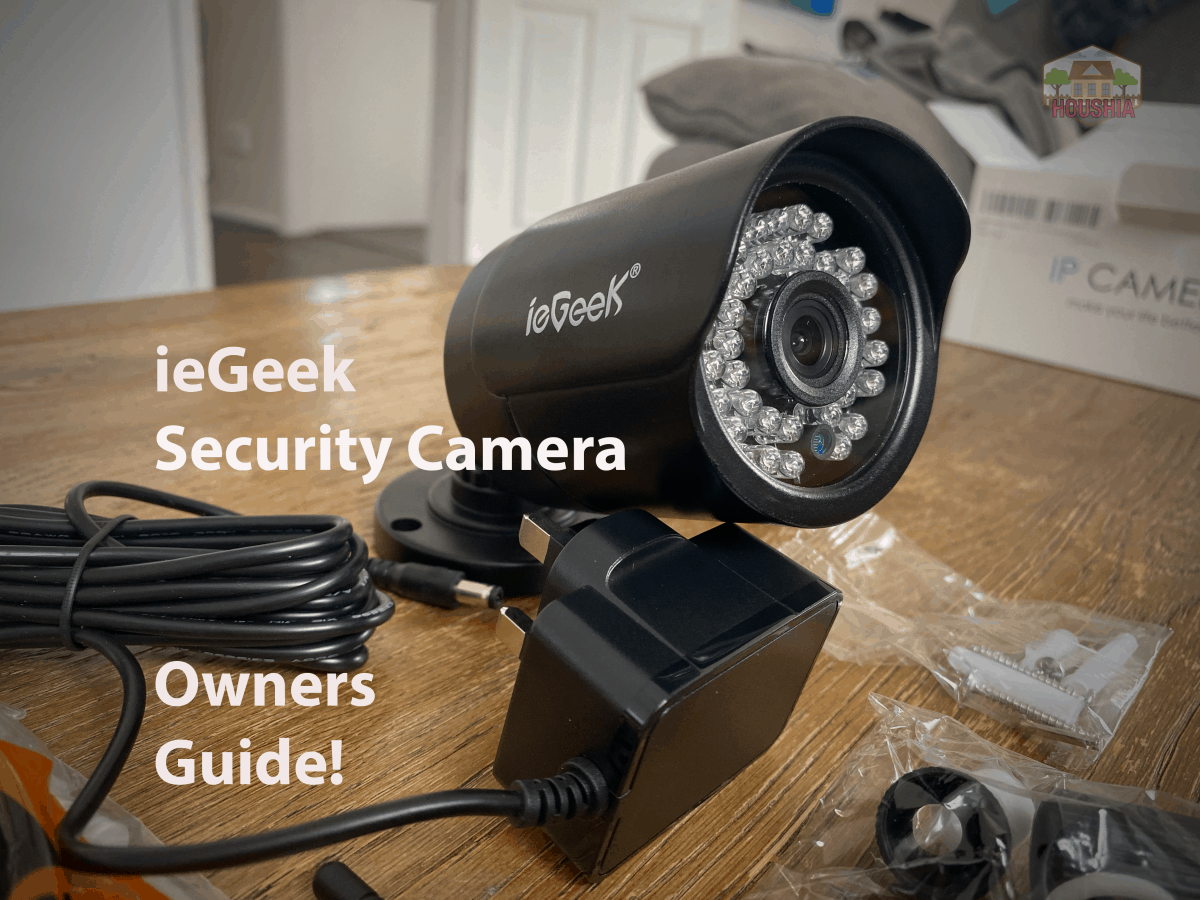
This guide will walk you through exactly what you need to know when setting up your ieGeek security camera.
It covers:
- The initial unboxing
- Hardware set up
- Phone app setup
- Mounting your camera at the most optimum place on your property.
I decided to write this owner’s guide because I wasn’t satisfied with the quality of the instructions that you receive as part of your ieGeek security camera kit. I also wanted to include my own personal experiences and learnings from owning this product for several weeks now.
I’ll break down things like the best positions to place your cameras for maximum effect. Which memory cards represent the best value for money and lasts longest without failing long term. How to keep your security footage safe. Activation zones on your camera and many more.
I also recommend a series of extras that I found were pretty much a necessity in order to get my ID camera up and running.
So without further ado, let’s go…
Unboxing Your ieGeek camera
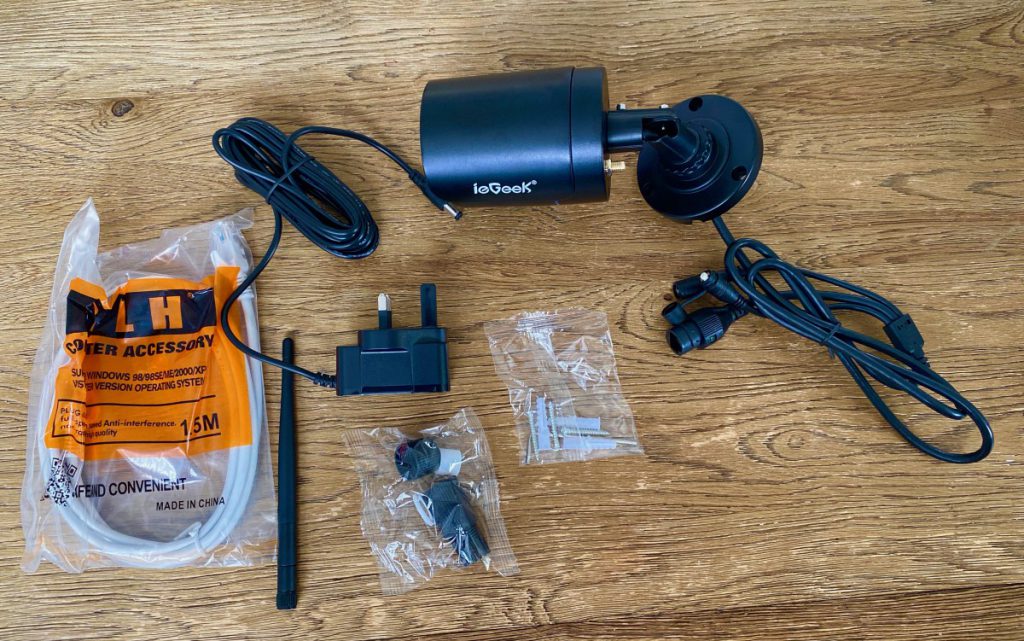
As far as unboxing goes, your ieGeek camera is a pretty good one, not only do they include the things that you expect such as the power supply and instructions. But also some added extras such as a short ethernet cable and wall mounting supplies such as screws.
It looks like the manufacturer does intend this camera to be used outside, since they also include caps for the connectors to have better weather sealing.
One thing I was slightly disappointed with high is the length of the power cable that fixes to the security camera itself. Is pretty short and you’d be struggling too wire the camera up to your main circuit unless you have a socket very close to the camera itself.
I touch on this point a little later on this section. What I wish I’d known before buying my ieGeek camera. And I also suggest a few work arounds for this issue!
Okay, all we need to do now is a quick stock check to make sure we have all the pieces we need to set up with your camera and we’re good to go to move on to the next topic. Choosing the correct SD card…
Let’s Talk SD Cards
Believe me when I say that SD cards are a digital minefield.
What I mean by this is that there’s just so many of them:
So many varieties, so many categories, so many different use cases and specific variations to suit certain purposes.
At one point the user manual touches on this and gives you hints as to the correct type of SD card required to work in ieGeek cameras. If you don’t know what an SD card is, then if you’ve ever owned a digital camera before, it’s basically that rectangular piece of plastic that you put in that stores all the pictures.
For general use cases, any cheap SD card will be suitable. But for specific use cases, for instance recording 4K Digital. Video. You need SD cards of a specific type that are sometimes referred to as Class 10 SD cards. The main difference for these types is that they have high data read and write speeds. You don’t need to understand this too much, just basically understand the concept of these cards are more expensive because they have higher capabilities than regular SD cards.
For security cameras, however. There is a different set of requirements that your SD card needs to fulfil.
While they are still recording video, the resolution tends to be lower than it would be for a high quality digital camcorder. So this isn’t a bottleneck. What is though, is the reliability of the SD card. So just like any other product, an SD card has a life span and will fail after a certain number of uses. If you’ve got a digital camera, a failure won’t be much of an issue because you can either return it and get a replacement. If it breaks within its warranty, or simply buy a new one and replace your existing one.
Replacing the SD card on a security camera that could be potentially mounted to the top of a house might not be as easy as simply swapping them out.
You will probably need a ladder and a screwdriver to access your ieGeek camera. So with this in mind. There is a certain class of SD cards that are designed to be highly reliable and have a very low failure rate over a long long period of time.
Typically these are called surveillance SD cards.
And don’t worry though, this might start sounding expensive, but from my research they tend to cost the same as regular SD cards. However, they might have smaller memories or slower read speeds, but again, for this specific use case, that’s not going to be an issue.
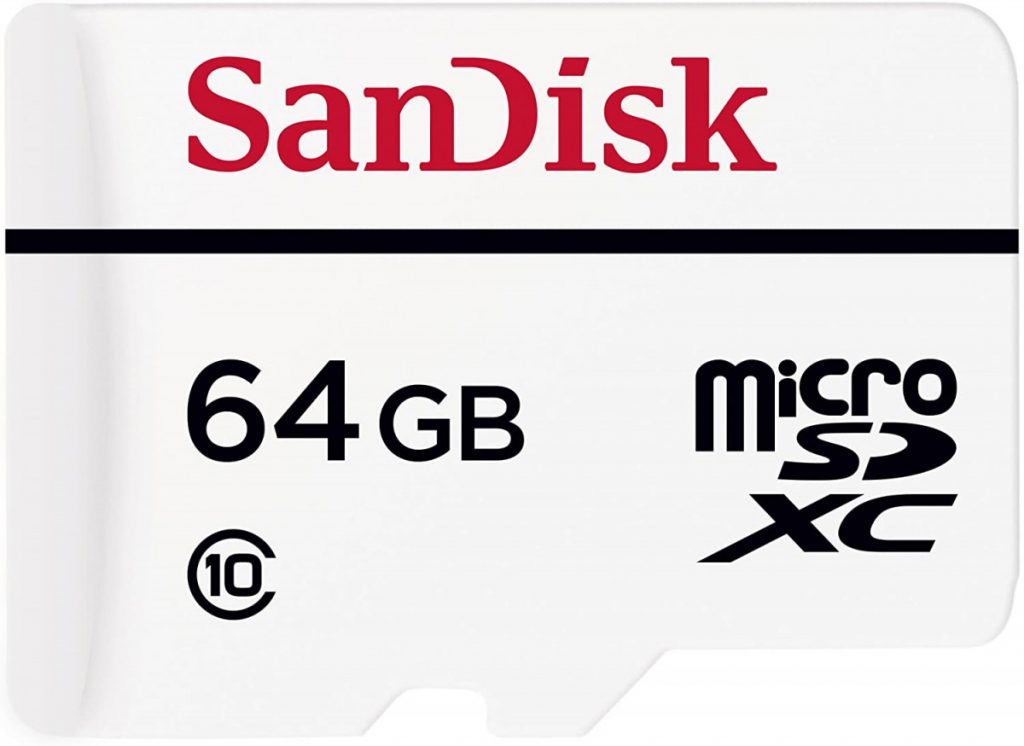
Also, please know that for ieGeek cameras you need to use micro SD cards. These are effectively 1/4 of the size of an SD card.
I’ll provide a few links to what I think are very good value for money options here. In this article. When buying a surveillance grade micro SD card for your ieGeek camera.
Okay, that’s all you pretty much need to know about micro SD cards. Don’t invest too much money in it and the next thing we will do is talk about how to install it into your ieGeek camera.
What You’ll Need
Okay, before we get started, let’s make sure we’ve got all the tools we need in order to get this camera set up and working.
While the equipment list is short. You definitely need all of them in order to get the job done.
Phillips head screwdriver
First and foremost, you will need a Phillips head screwdriver. Without this, you can’t undo the case and access the components that allow you to instal the micro SD card. Luckily I had one of these lying around.
Power Drill
Next you need some sort of drill. Strictly speaking, you could say that this is optional, but if you’re planning on mounting your security camera to the exterior of your house, then you need something to make holes in it to apply the mounting screws.
WiFi password
Next, this isn’t really a physical thing, but you will need it in order to get going. That is to say, you will need the Wi-Fi password for your home network. This is needed because you need to import this data into the third party phone app in order to view the footage from the camera.
Long Ethernet cable
Next on our list is an Ethernet cable. I’ll put a caveat here. By saying that you don’t strictly need the Ethernet cable if you’re intending on setting up your ieGeek camera as a Wi-Fi only camera. That’s because we can use the Ethernet cable that’s included within the kit to do the initial setup and then disconnect it.
Power exchanging cable
Finally, you need a longer power cable for your ieGeek security camera. That’s because the one that comes in the box in my humble pain is just too short to be practical. In fact, when you check out the Amazon listing, they often give you recommendations of other items to purchase. And for the ieGeek camera, surprise surprise, it’s an extension power cable.
Again, strictly speaking, you don’t have to get a longer power cable because you might have a specific set scenario where you don’t need the extension. But I’m thinking that this is only going to apply to a small minority and most people are going to require the extension power cable.
Which when you think about it, is kind of like a hidden cost to ownership. When buying a ieGeek camera. I guess you can say the same for the micro SD card as well. Each of these things adds up.
Increases the overall cost of ownership.
Initial Setup in Easy Steps
- inserting sd card
- installing app
- refer to which app article
- setting up wired connection
- viewing footage
- recording footage
- setting trigger zones
Switching to WiFi
I’m going to keep this section brief because I’ve written an entire article showing you exactly how to switch your camera from wired Ethernet to a wireless protocol.
If you want to check that out, here is the link. Todo add link.
But to summarise that process. You essentially need to instal the camhi app and then set up the camera in Ethernet Mode. Once that’s done. Then go into the. Settings for the camera on the camera app. Select Wi-Fi and then follow the instructions on that screen. Airline airline.
This is a really simplified version of the steps you have to take. And I was confused initially by this. Process, so this is definitely a topic that warrants its own article. Then please checkout that article after finishing reading this one.
Where to place your camera?
This is a super interesting question. I guess it depends largely on your own specific set of circumstances. So take any advice they give you with a pinch of salt, knowing that. Your. Reason for running a security camera could be different to others. Sure
Device I’m gonna give it. Fairly broad and I’m just going to give you a few examples of what I would think of is the good. Places to. Position your security cameras to get the most bang for your book.
Your garden or yard
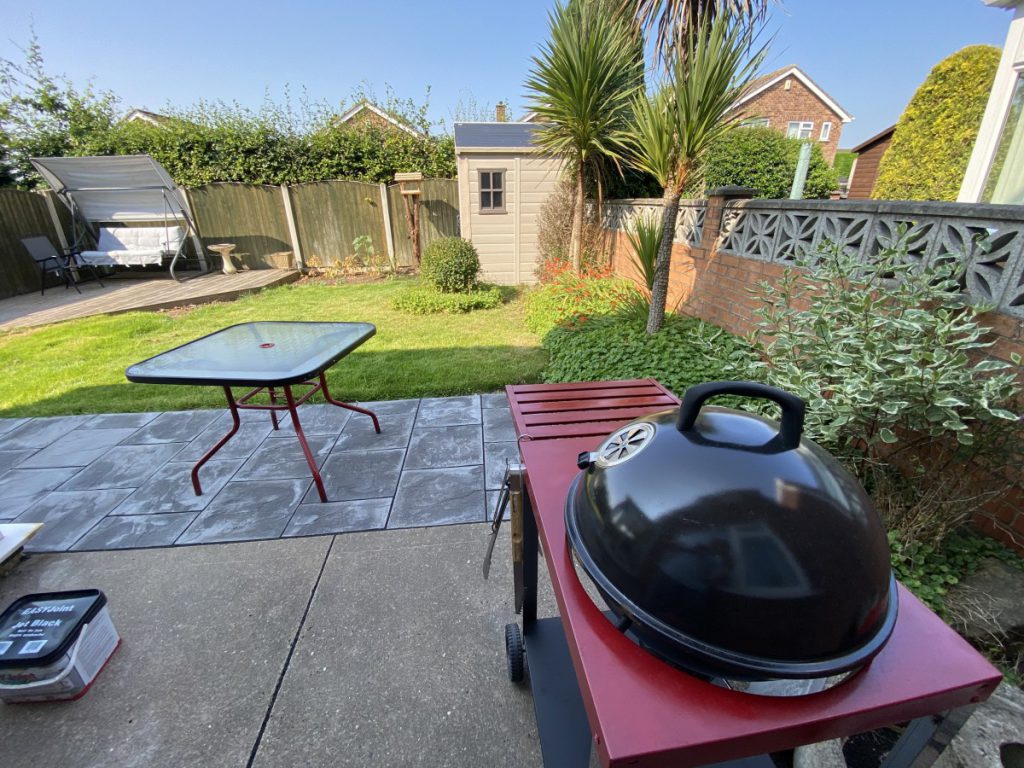
If someone is looking to gain entry into your home. Without using the front door then. Your yard or garden could be an enticing. Proposition. By placing your security camera at an elevated position, facing your yard or garden. You find. That you can. Monitor. The. Activity in your garden day and night. Fairly effectively. You know, so I found. That it’s useful if you’re for instance elsewhere in your home, and you want to. See what’s going on in the garden. For instance, if your kids are playing there and you’d like to keep an eye on them to make sure they were OK.
Alleyways and side entrances.
If your house has alleyways running parallel with it or a side entrance there that isn’t visible from the street or easily visible, then this might be a useful place to position your ieGeek camera. The reason being that you can monitor this area more easily. Fire they don’t camera. It could be useful for a number of reasons. For instance, if you could put it with a regular doorbell, you could cheque the security feed to figure out who is at your side door.
It could also be used. As a visual deterrent, posting off a would be intruder from entering your house via the side entrance.
Above your garage.
I think this is some position that’s often overlooked and people don’t consider it. Because. That evidence the garage is far more likely to be broken into than the main home itself. I mean, think about it. Think of all the stuff that people keep in their garages. And couple that with the fact that garage security typically is isn’t great in comparison to your home. You can see why it starts to make sense to include a position of your ieGeek camera that can see your garage.
Use your best judgement.
You don’t have to get the positioning right the first time. This is something I remind myself. So for instance, you could try placing your camera and as a temporary mounting on various places in your house and figure out which place makes the most sense. Once you’ve had time to evaluate this, you can then decide a more permanent position to fix your ieGeek camera.
Through this experimentation, you might realise that you only need two cameras rather than three, for instance, which could save on your bottom line. Especially if you have to buy additional extras such as extended power cords.
What I wish I’d Known
There’s a couple of things that disappoint me about the ieGeek security camera line. The biggest of which is the hidden costs attributed to it. The fact that you have to buy a microSD card for the thing to even work bugs me. They don’t make this obvious in my opinion on the Amazon ad.
The second is the length of the cables included in the box. Would it really add that much to the cost of the product to include a longer power cable?
It’s pretty much unusable unless you go out and order an extension cable.
The last thing is the security of the camera. What I mean is the data that the camera transmits as footage to your home router isn’t encrypted. This is super dangerous as a hacker could steal your footage.
I did a deep dive article covering this called “Can You Trust ieGeek?” I highly recommend reading it before making a purchase.
What Budget alternatives are there?
Great question! Is there an alternative to the ieGeek camera? Yup, there’s a bunch of competition at this end of the market.
I’m putting together an article comparing ieGeek with Wansview and Victure, they are the other big players and the super low end of the market. Check it out here: battle of the budget security cameras!
If you’re interesting in reading more about ieGeek cameras then checkout our articles on:
ieGeek Cameras TERRIBLE Security – A Detailed Investigation
Conclusion
Ok, that’s it for this one. I hope you found it useful and some idea of how to setup your ieGeek camera.
In all honestly for the price you pay, the ieGeek cameras are ok. But its not the only camera on the market. Not by a long shot.
If you found this article useful then please share it out as it helps the site grow and encourages me to keep writing articles!
P.S.
That’s it for this article. I hope you enjoyed reading it and if you think it might be useful for someone else then please share it on social media, email or your own website! It really encourages us to write more content and grow the site!
If you’re interested in reading more about smart light, smart garages and smart homes checkout some of the other houshia categories including:
